

You have stretched your hip flexors. You have done the glute bridges. You have watched every posture video on the internet. And yet your pelvis keeps tilting forward like nothing changed.
The fix you are missing might be about two feet lower than you think.
Anterior pelvic tilt (when the front of your pelvis drops forward and your lower back arches excessively) affects how you stand, walk, and feel throughout the day. Most advice focuses on the hips and core. But your feet are the foundation of the entire chain, and when the foundation shifts, everything above it compensates.
What Pelvic Tilt Actually Is
Your pelvis can tilt in three directions. Anterior tilt tips the front of the pelvis downward, creating an exaggerated curve in the lower back. Posterior tilt does the opposite, tucking the pelvis under and flattening the spine. Lateral tilt means one hip sits higher than the other.
Anterior pelvic tilt is by far the most common. You can check for it right now: stand with your back against a wall. If you can slide your entire hand between your lower back and the wall, you likely have some degree of anterior tilt.
A small amount of forward tilt is normal. It becomes a problem when it is pronounced enough to cause lower back tightness, hip discomfort, or that persistent feeling that your posture is off no matter how hard you try to stand up straight.

Key takeaway: Anterior pelvic tilt is the most common type, and a simple wall test can tell you whether yours is excessive.
The Chain Reaction from Your Feet to Your Pelvis
Your body is a connected system. Biomechanists call it the kinetic chain: force and alignment transfer from one joint to the next, starting at the ground.
Here is how it works when your feet are out of alignment:
Overpronation (when your foot rolls inward too far with each step) causes your tibia (shinbone) to rotate inward. That inward rotation pulls on your femur (thighbone), which rotates your hip socket forward. When both hips rotate forward, the pelvis follows, tipping into anterior tilt. The lower back compensates by arching harder, and now you have lumbar lordosis (an exaggerated lower back curve) that no amount of stretching will fix on its own.
Research supports this connection. A study published in the Journal of Physical Therapy Science found a 0.97 correlation between asymmetric pronation and same-side pelvic tilt, meaning the foot and pelvis move almost in lockstep.
The chain works in reverse too. Supination (when your foot rolls outward) creates its own set of rotational forces that can lead to lateral pelvic tilt or hip compensation patterns.
The point is straightforward: if the foot problem stays, the pelvic problem keeps coming back.

Key takeaway: Overpronation at the foot triggers a rotational chain through the shinbone, thighbone, and hip that tilts the pelvis forward.
How to Tell If Your Feet Are Contributing
Not every case of pelvic tilt starts at the feet, but here are signs that yours might:
Check your shoes. Look at a well-worn pair from behind. If the inner edge of the heel is noticeably more compressed than the outer edge, you are likely overpronating. Uneven wear between your left and right shoes can indicate asymmetry that contributes to lateral pelvic tilt.
Watch your arch. Stand on one foot and look at the inside of your foot in a mirror. If your arch collapses toward the floor under your body weight, that collapse is the starting point of the rotational chain described above.
Notice your knees. Overpronation often shows up as knees that drift inward during squats or when walking downstairs. If your feet are affecting your back pain, there is a good chance they are affecting your pelvis too.
Try a simple standing test. Stand naturally and have someone photograph you from the side. Then place a supportive insole in your shoes and take the same photo. If your pelvic position visibly changes, your feet are part of the equation.

Key takeaway: Shoe wear patterns, arch collapse under load, and knee drift are all visible signs that your feet may be driving your pelvic tilt.
How the Right Support Interrupts the Chain
If overpronation is the first domino, then controlling pronation is how you stop the cascade before it reaches your pelvis.
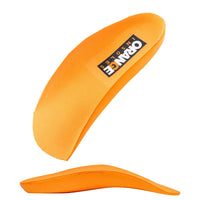
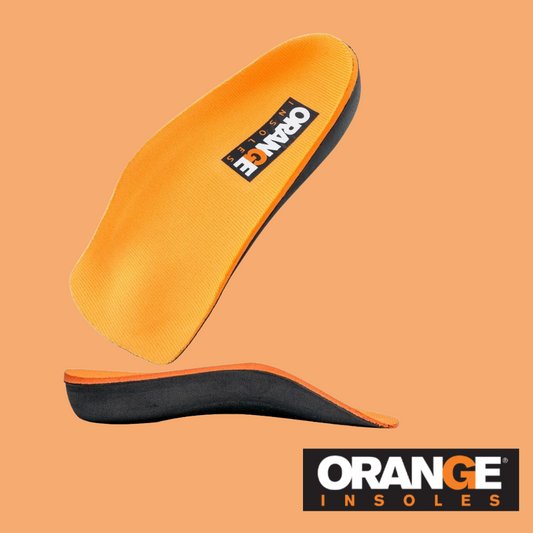
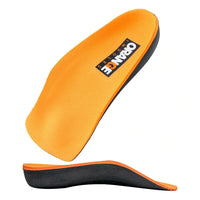
This is where arch support and heel stabilization matter. A structured insole with a deep heel cup controls calcaneal eversion (the inward roll of the heel bone that initiates the pronation chain). When the heel stays aligned, the tibia does not rotate as far inward, the femur follows suit, and the pelvis has less reason to tilt.
The key feature to look for is that deep heel cup. Flat foam inserts and generic drugstore insoles provide cushioning, but they do not control the heel position that starts the chain. A deep heel cup is what makes the biomechanical difference, cradling the heel and keeping it vertically aligned instead of letting it roll.
Insoles are not a standalone fix. Think of them as the foundation correction that makes everything else you are doing more effective. The hip flexor stretches, the glute strengthening, the core work still matters. But without addressing the foot-level cause, those exercises are fighting against a misaligned base.

Key takeaway: A deep heel cup controls the heel roll that triggers the entire chain, making your hip and core exercises more effective.
Exercises That Work with Corrected Alignment
Once your feet are properly supported, these exercises address the muscular imbalances that anterior pelvic tilt creates:
Hip flexor stretch. Kneel on one knee with the other foot flat in front of you. Gently push your hips forward until you feel a stretch in the front of your back hip. Hold for 20 to 30 seconds per side. Tight hip flexors are the muscular driver of anterior tilt, and this stretch directly counteracts that pull.
Glute bridge. Lie on your back with knees bent and feet flat. Press through your heels to lift your hips until your body forms a straight line from knees to shoulders. Squeeze at the top for two seconds, then lower. Do 10 to 15 repetitions. Weak glutes allow the pelvis to tilt forward; strengthening them gives your pelvis the muscular support to hold a neutral position.
Dead bug. Lie on your back with arms extended toward the ceiling and knees bent at 90 degrees. Slowly lower your right arm behind your head while extending your left leg, keeping your lower back pressed against the floor. Return and repeat on the other side. Do 8 repetitions per side. This trains your deep core to stabilize the pelvis under movement.
If you have been sitting at a desk all day, these exercises are especially important. Prolonged sitting tightens the hip flexors and weakens the glutes, compounding the tilt pattern.

Key takeaway: Hip flexor stretches, glute bridges, and dead bugs target the muscular imbalances that anterior tilt creates, working best when the foot-level cause is also addressed.
Start from the Ground
Pelvic tilt is frustrating because the symptom and the cause are often in completely different parts of the body. You feel it in your lower back and hips. But the chain reaction may start at your feet every time you take a step.
Addressing both ends of the kinetic chain gives your body something it has not had: a corrected foundation and the muscular strength to maintain it. That is when the stretches and exercises you have been doing start to hold.

Find Your Starting Point
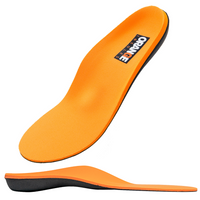
If pelvic tilt has been a recurring problem despite your best efforts, your feet are worth investigating. Orange Insoles are built around a deep heel cup that controls the heel alignment where the chain begins. Pair them with the exercises above, and you are working the problem from the ground up.
Find the right insole for your feet and feel the difference in how you stand.